How to Get Better Wildlife Photos on a Uganda Safari
Uganda is one of Africa’s most rewarding places to point a camera. Within a single trip you can photograph mountain gorillas in dim rainforest, tree-climbing lions on an open savannah, elephants on the banks of the Kazinga Channel, and a shoebill standing motionless in a papyrus swamp. But that variety is also what makes it challenging. Getting great wildlife photos on a Uganda safari adventure means adapting to very different light, distances and animal behaviour from one day to the next.
The good news is that you don’t need a professional kit to come home with striking images. You need to understand your subjects, know a handful of camera settings, and plan your days around good light. This guide covers gear, settings, composition, and the specific challenges of gorillas, chimpanzees, game drives and boat safaris, along with practical tips for logistics and ethics.
Understand What Makes Uganda Different
Many first-time safari photographers arrive expecting the open plains of the Serengeti. Uganda offers something more varied:
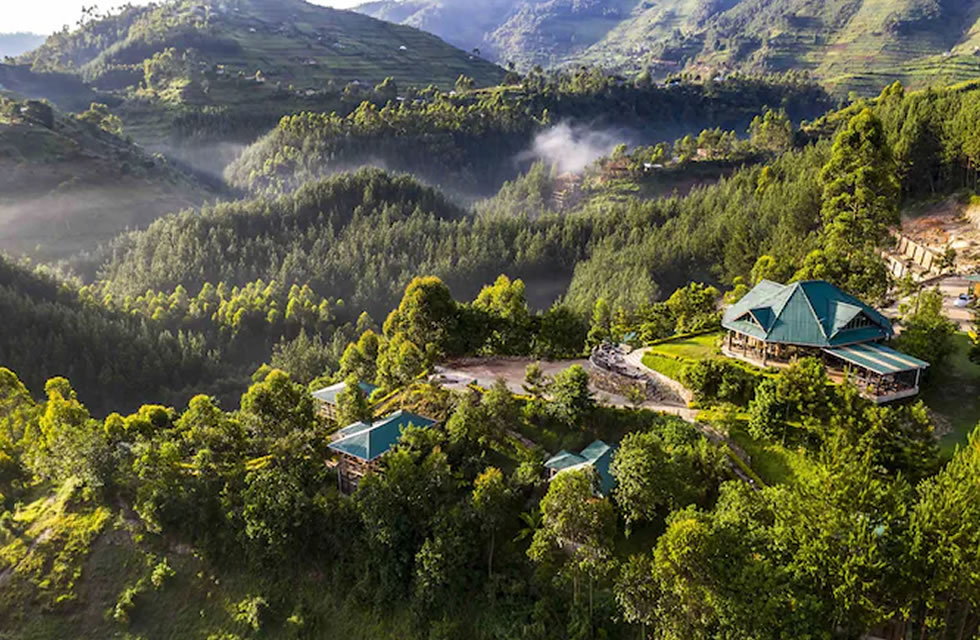
- Dense forest (Bwindi, Kibale): low light, obstructed views, and close encounters.
- Savannah and woodland (Queen Elizabeth, Murchison Falls, Lake Mburo, Kidepo): classic game-drive photography.
- Water (Kazinga Channel, the Nile at Murchison, Mabamba Swamp): boat safaris with birds, hippos and elephants.
- Mountains and crater lakes: landscapes and atmospheric backdrops.
Each environment calls for different lenses, settings and techniques, so it’s worth thinking through what you’ll shoot before you pack.
Choose the Right Gear
Camera Body
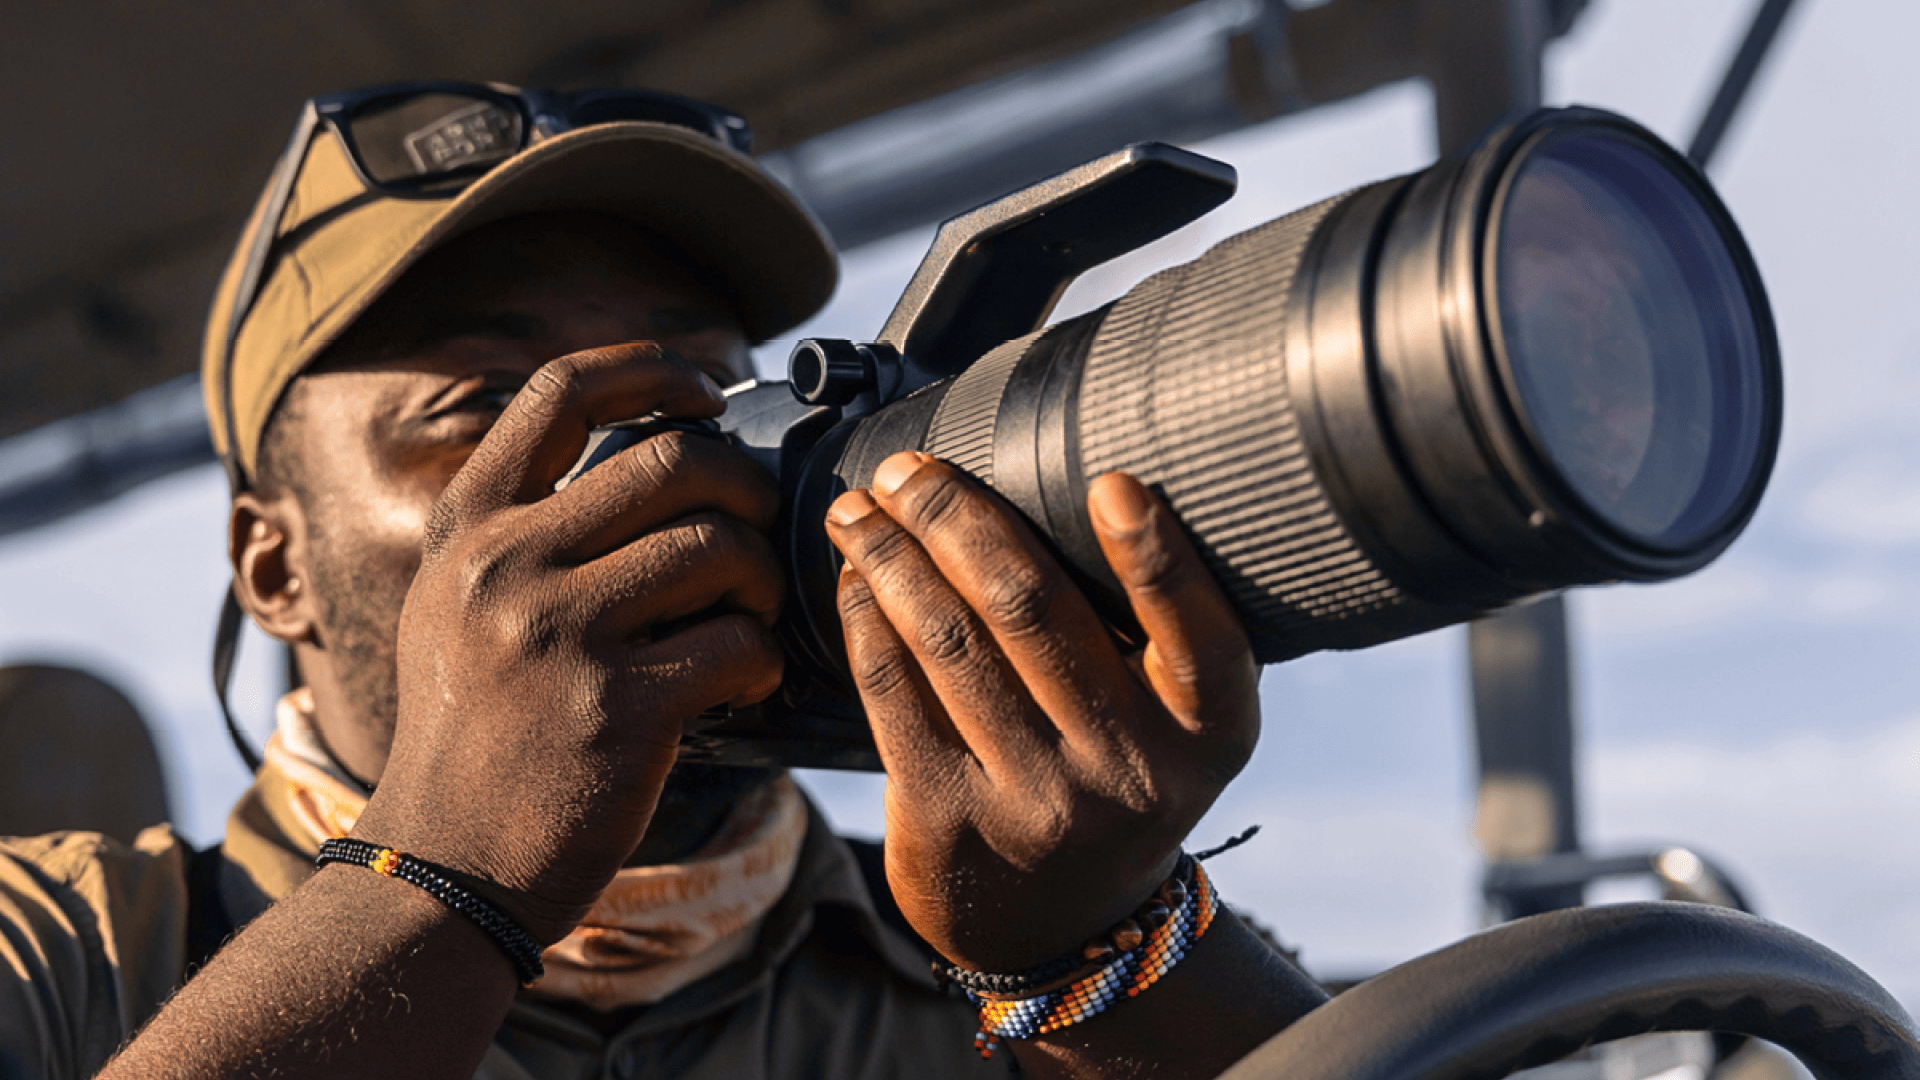
Any camera with manual controls will do, but a body with fast, reliable autofocus, good high-ISO performance and a quick burst rate will help most. Mirrorless and DSLR cameras are both fine. If you’re using a smartphone, you can still get lovely images of landscapes, camps and close subjects, but distant wildlife needs a longer lens.
Lenses
Focal length matters more than almost anything else on safari.
- Telephoto zoom (100-400mm or 150-600mm): the workhorse for game drives, birds and boat trips.
- Mid-range zoom (70-200mm or 24-105mm): ideal for gorillas and chimpanzees, where animals can be quite close and the forest is tight.
- Wide-angle (16-35mm): for landscapes, camps, and environmental shots of animals in their habitat.
- Fast prime (for example 85mm or 135mm f/1.8-f/2): helpful in low light if you already own one.
If you can only bring two lenses, take a long telephoto zoom and a mid-range zoom.
Accessories Worth Packing
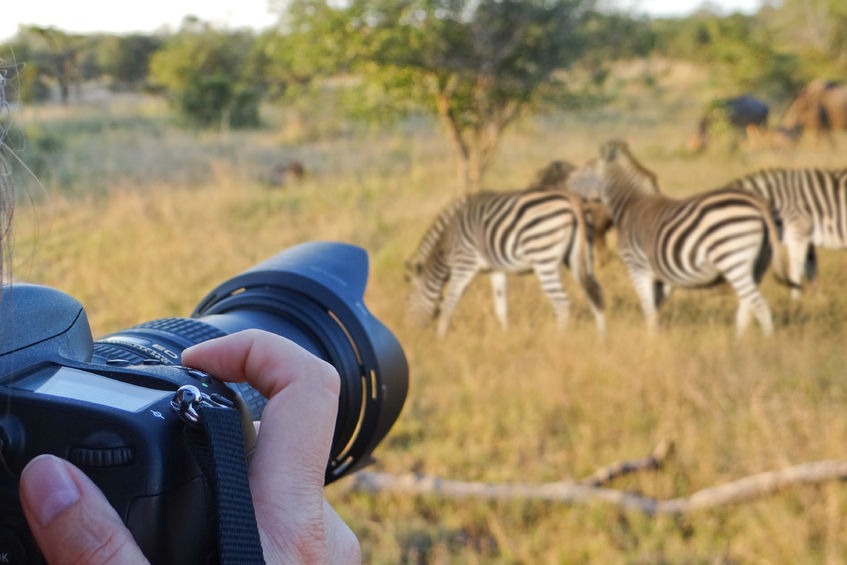
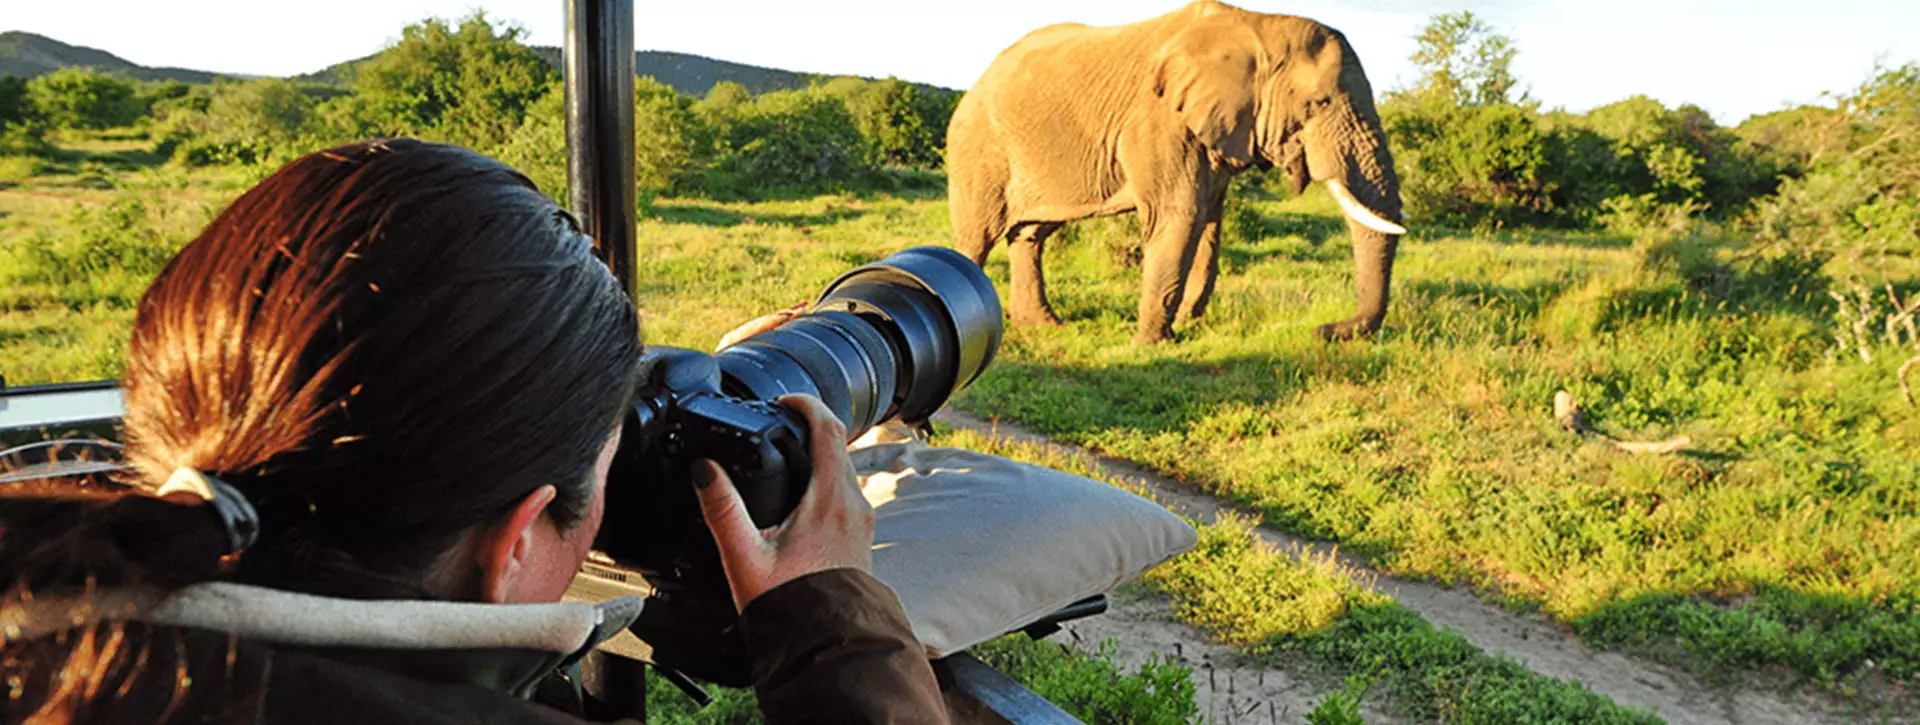
- Bean bag or window clamp: far more useful than a tripod in a vehicle. Rest your lens on the window frame or roof for stability.
- Spare batteries and memory cards: you’ll shoot more than you expect, and humidity can drain batteries faster.
- Lens cloths, blower and rain cover: dust on dry-season roads and drizzle in the rainforest are both hard on equipment.
- Dry bag or silica gel packs: to protect gear from humidity.
- Power bank or vehicle charger: so you can recharge between drives.
- Lens hood: cuts glare and offers some protection.
Avoid changing lenses outdoors during dusty drives. Carry two bodies if you can, each with a different lens attached.
Master Your Camera Settings
You don’t need to shoot fully manual, but you should understand these basics.
Shoot in RAW
RAW files hold far more detail in highlights and shadows, which matters in high-contrast African light and dark forest scenes. It also gives you room to correct exposure and white balance later.
Use a Fast Shutter Speed
Animals move, and so do you. As a rule:
- Standing or slow-moving animals: 1/500s or faster
- Walking animals: 1/800s to 1/1000s
- Running animals and birds in flight: 1/2000s or faster
- Handheld with a long lens: at least 1/(focal length) as a minimum, and faster if you can
Use Aperture Priority or Manual with Auto ISO
Aperture priority (A or Av) with auto ISO is a great starting point. You choose the depth of field, the camera manages the exposure, and you keep an eye on the shutter speed. Many photographers prefer manual mode with auto ISO once they’re comfortable, setting shutter speed and aperture themselves and letting ISO float.
Continuous Autofocus and Burst Mode
Set your camera to continuous autofocus (AF-C or AI Servo) and shoot in bursts. Animal expressions change in a split second, and a burst of frames gives you the best chance of catching the perfect moment: an ear flick, a yawn, an eye turning toward you.
Consider Back-Button Focus
Separating focus from the shutter button lets you track a subject and recompose without refocusing. It takes practice, but it’s excellent for wildlife.
Exposure Compensation
Bright skies can fool your meter. If you’re photographing a dark animal such as a buffalo or a gorilla against a bright background, you may need positive exposure compensation. For pale animals against dark foliage, you may need to reduce it. Check your histogram and adjust.
Quick Reference: Suggested Starting Settings
| Situation | Shutter speed | Aperture | ISO |
|---|---|---|---|
| Game drive in good light | 1/800–1/1000 | f/5.6–f/8 | Auto (100–800) |
| Animal in motion | 1/1500–1/2500 | f/5.6 | Auto (400–1600) |
| Birds in flight | 1/2000+ | f/5.6–f/8 | Auto |
| Gorillas in dense forest | 1/250–1/500 | Widest available | 1600–6400 |
| Sunrise or sunset | 1/500 | f/5.6–f/8 | Auto |
| Boat safari | 1/1000 | f/5.6–f/8 | Auto |
These are starting points, not rules. Always adapt to the light in front of you.
Photographing Mountain Gorillas
A gorilla encounter is the highlight of many Uganda trips, and it’s also one of the trickiest photography situations you’ll face.
The forest is dark. Canopy cover blocks most of the light, even in the middle of the day. Push your ISO higher than feels comfortable (1600 to 6400 is common on modern cameras) and use the widest aperture on your lens. A little noise is far easier to fix than motion blur.
Flash is not allowed. Rangers will ask you to turn it off, and it’s disturbing to the animals. Make sure your flash is disabled before you leave the trailhead.
Use a mid-range lens. Depending on how the gorillas move, you may be a few metres away, so a 70-200mm or 24-105mm is often more useful than a big telephoto. Rangers require visitors to keep a minimum distance, so you can’t move closer to fit the frame. Zoom instead.
Wait for the eyes. Gorilla portraits succeed when the eyes are sharp. Focus on the eye, then wait for a moment when the animal looks up, turns, or shows an expression.
Look beyond the silverback. Juveniles playing, mothers grooming infants, and gorillas feeding on leaves make wonderful images.
Prepare for wet conditions. Rain and mist are common. Bring a rain cover or simple plastic bag, and keep your gear in a waterproof daypack.
Limited time. You typically get one hour with the gorillas, so settle on your settings before you arrive and spend the hour observing, not fiddling with dials. Also remember that you’ll be hiking in steep terrain, so carry only what you need. Our guide on preparing physically for a gorilla trek in Bwindi will help you plan a manageable load.
Photographing Chimpanzees
Chimpanzee tracking in Kibale, Budongo or Kyambura Gorge presents similar challenges: dim light, active subjects, and lots of branches in the way.
- Use higher ISO and a faster shutter speed than you would for gorillas, because chimps move quickly.
- Look for gaps in the foliage and compose around obstructions instead of shooting through them.
- Be ready when chimps come down to the ground. This is when you get the clearest views.
- Photograph behaviour: grooming, feeding, hooting and interaction between individuals.
Getting the Most from Game Drives
Game drives in Queen Elizabeth, Murchison Falls, Lake Mburo and Kidepo are where classic wildlife portraits happen.
Chase the Light, Not Just the Animals
The best light comes in the first two hours after sunrise and the last two before sunset. Soft, warm, low-angle light gives animals shape and colour, while harsh midday sun flattens everything and creates ugly shadows. Plan early starts and late finishes, and use the middle of the day to rest, edit and recharge.
Position the Vehicle Thoughtfully
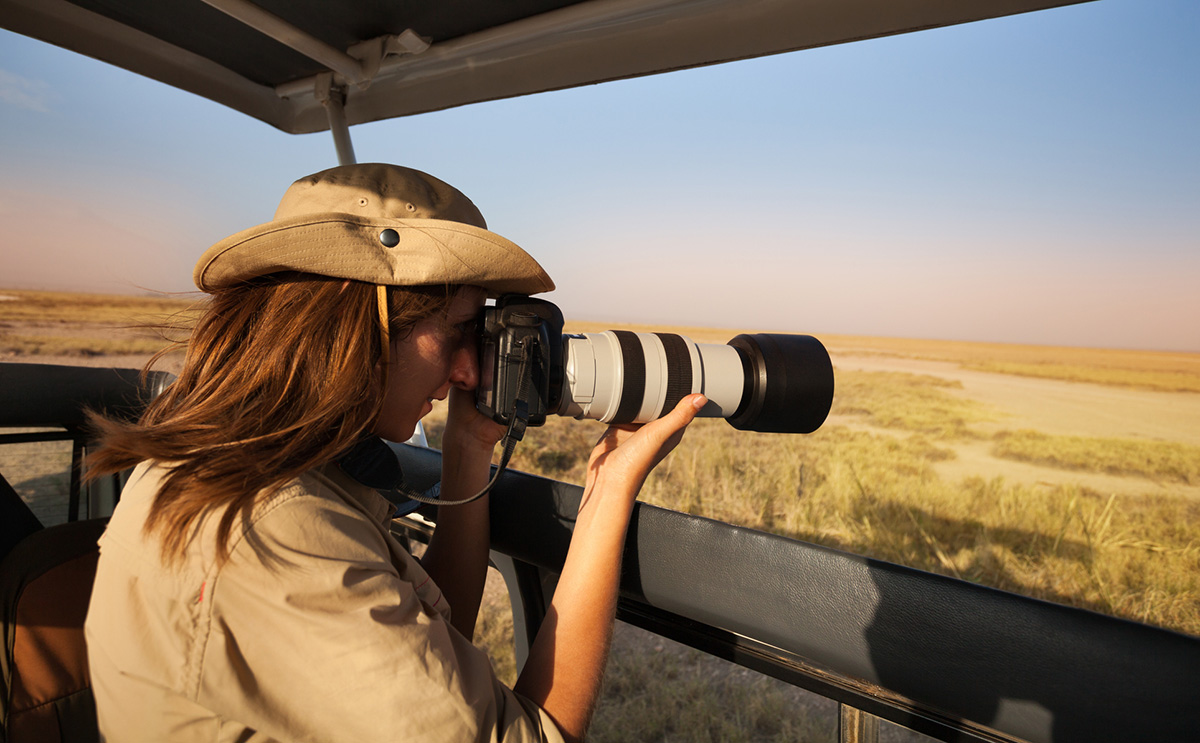
Ask your guide or driver to position the vehicle so the sun is behind you or to the side, the background is clean, and you’re at the animal’s eye level where possible. Turn off the engine before you shoot to avoid vibration, and avoid moving around inside the vehicle.
Shoot from the Window, Not the Roof, When Possible
If you’re using a pop-up roof vehicle, keep your camera supported on a bean bag and avoid leaning on the roof edge while the vehicle idles. Even small vibrations show up in long telephoto shots.
Be Patient
Some of the best moments come when you stay put. Watch a lion pride settle in for a nap, a hippo pod yawning at the water’s edge, or an elephant family arriving at a waterhole. Patience often beats speed.
Look for the Uganda Specials
- Tree-climbing lions in the Ishasha sector of Queen Elizabeth National Park
- Uganda kob across the savannahs
- Rothschild’s giraffe in Murchison Falls
- Zebras and impalas in Lake Mburo
- Elephants, buffalo, and hippos in several parks
- Shoebills in Mabamba Swamp or other wetlands
Shooting from a Boat
Boat safaris on the Kazinga Channel or the Nile at Murchison Falls put you at a low angle to the water, which makes for intimate images of hippos, crocodiles, elephants and waterbirds.
- Use a faster shutter speed than on land, because the boat is always moving slightly.
- Brace your elbows against your body or the railing for extra stability.
- Watch your exposure. Reflected light from the water can trick your meter.
- Keep a lens cloth handy for spray.
- Photograph birds. Kingfishers, African fish eagles and herons are everywhere on these trips.
Composition Tips That Make the Difference
Good technique is only half the story. Composition is what makes an image memorable.
- Focus on the eyes. A sharp eye brings a portrait to life.
- Get on their level. Eye-level images feel more intimate than shooting down from above.
- Simplify the background. Use a wider aperture and pick your angle to separate the animal from clutter.
- Use the rule of thirds. Place the subject off-centre and leave space in the direction it’s looking or moving.
- Include the environment. A wide shot showing an elephant against Rwenzori peaks or a lion in a fig tree tells a story a tight portrait can’t.
- Capture behaviour. Feeding, playing, nursing, fighting and interacting are more compelling than static poses.
- Try backlighting. Dust, fur and breath glow beautifully when the sun is behind the subject.
- Vary your shots. Shoot wide, medium and close-up versions of the same scene.
Plan Your Logistics Around Photography
The best photographers plan their trip around light and access, not just the attractions.
Book enough time in each park. A rushed itinerary means you’ll pass through the best light in a vehicle. Give yourself at least two nights in each major park.
Build in flexibility. Wildlife doesn’t keep to a schedule. If a leopard is spotted at dusk or a herd is heading to water at sunrise, you want the freedom to stay.
Think about your vehicle. This is one of the most underrated parts of a photography trip. You’ll want a sturdy 4×4 with good ground clearance for Uganda’s rough park tracks, windows or a pop-up roof that give a clear shooting position, and enough space for cameras, lenses, bean bags and luggage. Many photographers prefer to hire a vehicle with a driver-guide, or rent one and travel at their own pace, so they can start before dawn, linger with a subject and skip the tourist rush. A local provider such as Uganda Car Rental Services can help you choose a suitable vehicle for both the main roads and the park tracks, and give you the flexibility to schedule your days around the light instead of a fixed group departure.
Charge everything nightly. Not every lodge has reliable power all day. Check whether your vehicle has a charging socket or bring a power bank.
Protect Your Gear
Uganda’s conditions can be tough on cameras.
- Dust: keep gear in a padded bag or under a cloth when moving between sightings. Change lenses only when necessary and away from dusty roads.
- Humidity: store equipment with silica gel packs, and let cold gear warm up gradually when moving between air-conditioned and hot environments to prevent condensation.
- Rain: carry a rain cover or waterproof bag, especially for rainforest treks.
- Theft and loss: never leave gear visible in a parked vehicle, and keep memory cards backed up.
Back Up Your Photos Every Day
Nothing is worse than losing a once-in-a-lifetime image. Each evening:
- Copy your photos to a laptop or portable SSD.
- Keep a second backup in a separate bag or cloud storage if your connection allows.
- Don’t format cards until you’re safely home and have checked all your backups.
Respect the Animals and the Rules
Great photography should never come at the animals’ expense.
- Follow park rules on distance and behaviour. For gorillas, rangers set minimum distances and group sizes, and you should follow them exactly.
- No flash near gorillas, chimpanzees or nocturnal animals.
- Never bait, call or chase wildlife to get a better shot.
- Stay in the vehicle during game drives unless your guide says it’s safe.
- Avoid crowding sightings. Give other vehicles space.
- Check the rules on drones. They are generally heavily restricted in Uganda’s national parks, and you should get official permission before bringing one.
- Don’t photograph if you’re unwell near gorillas. Human illness can spread to them, and rangers may ask you to stay behind.
Simple Editing Tips
You don’t need advanced software to improve your images.
- Straighten the horizon and crop for stronger composition.
- Adjust exposure, contrast and highlights gently.
- Lift shadows in forest photos, and keep an eye on noise.
- Keep colours natural. Uganda’s greens and earth tones look best when they’re not over-saturated.
- Choose a few strong images instead of sharing every frame.
Common Mistakes to Avoid
- Shutter speed too slow. This is the number one cause of blurry wildlife shots.
- Ignoring the background. A great animal ruined by a distracting branch is a common heartbreak.
- Only shooting from a distance. Include wide shots and details too.
- Skipping the early mornings. The best light and activity happen at dawn.
- Focusing on the camera and missing the moment. Take time to put the camera down and simply watch.
- Not testing gear before the trip. Practise on local wildlife or birds at home.
- Overpacking. Especially for gorilla treks, heavy gear is a real burden on steep trails.
Frequently Asked Questions
What is the best camera for a Uganda safari?
The best camera is one you know how to use. A mirrorless or DSLR body with a fast autofocus system and good low-light performance is ideal, but even a compact superzoom can produce good results.
What lens do I need for gorilla trekking?
A 70-200mm or 24-105mm lens is usually the most practical, because you’ll be relatively close and the forest is tight. A wide aperture helps in low light.
Can I use a tripod?
In vehicles, a bean bag is far more practical. On gorilla treks, a tripod is generally unnecessary and cumbersome on steep terrain. A monopod or walking stick can sometimes help.
Is flash allowed?
Not for gorilla or chimpanzee tracking. Flash disturbs animals and is prohibited in those settings.
When is the best time to photograph wildlife in Uganda?
Early morning and late afternoon offer the best light and animal activity. Seasonally, the drier months often make wildlife easier to spot on game drives, though rainforest photography is possible year-round.
Can I get good photos with just a smartphone?
For landscapes, people and close subjects, yes. For distant wildlife, a dedicated camera with a telephoto lens will give you much better results.
Final Thoughts
Great wildlife photos on a Uganda safari are the result of preparation, patience and a little knowledge. Learn your camera settings, match your lens to the environment, chase the best light, and give yourself the time and flexibility to wait for a moment instead of rushing between sightings. Whether you’re trying to capture the gaze of a silverback in the forest shadows or a lion draped along a fig tree branch at dawn, the best images come when you slow down, observe carefully, and respect the animals you’re photographing.
Pack smart, start early, and remember to look up from the viewfinder now and then. Some moments are meant to be experienced as well as captured.
Note: Park rules, permit conditions and drone regulations can change, so check current guidelines with the Uganda Wildlife Authority or your tour operator before your trip.
To book a wildife safari in Uganda today – simply contact us now by sending an email to [email protected] or call us now on +256-700135510.